My Mac hard drive still shows storage in use, but I can’t find several important folders after a recent restart. I need help figuring out whether the files are hidden, deleted, or recoverable with Mac data recovery tools before I risk overwriting anything.
First thing: don’t keep using the drive. That’s the part people tend to skip, and it can make the difference between recovering the files and permanently overwriting them.
When something disappears from Finder, it doesn’t always mean the data is actually gone. macOS may have only marked that space as available again. If nothing new gets written over it, the file can sometimes still be recovered. But normal stuff like downloads, browser cache, app updates, temp files, and background processes can all write new data without you really noticing.
If this was an external drive, unplug it for now. If it was your Mac’s internal drive, use the Mac as little as you can until you’ve checked your recovery options.
Start with the simple checks before jumping into recovery software. Open the regular Trash first. If the missing files were on an external drive, also check the drive’s hidden trash folder. In Finder, open the drive and press Shift + Command + Period to show hidden files. Look for a folder called .Trashes and check inside it. If the files are there, you may be able to restore them with “Put Back.”
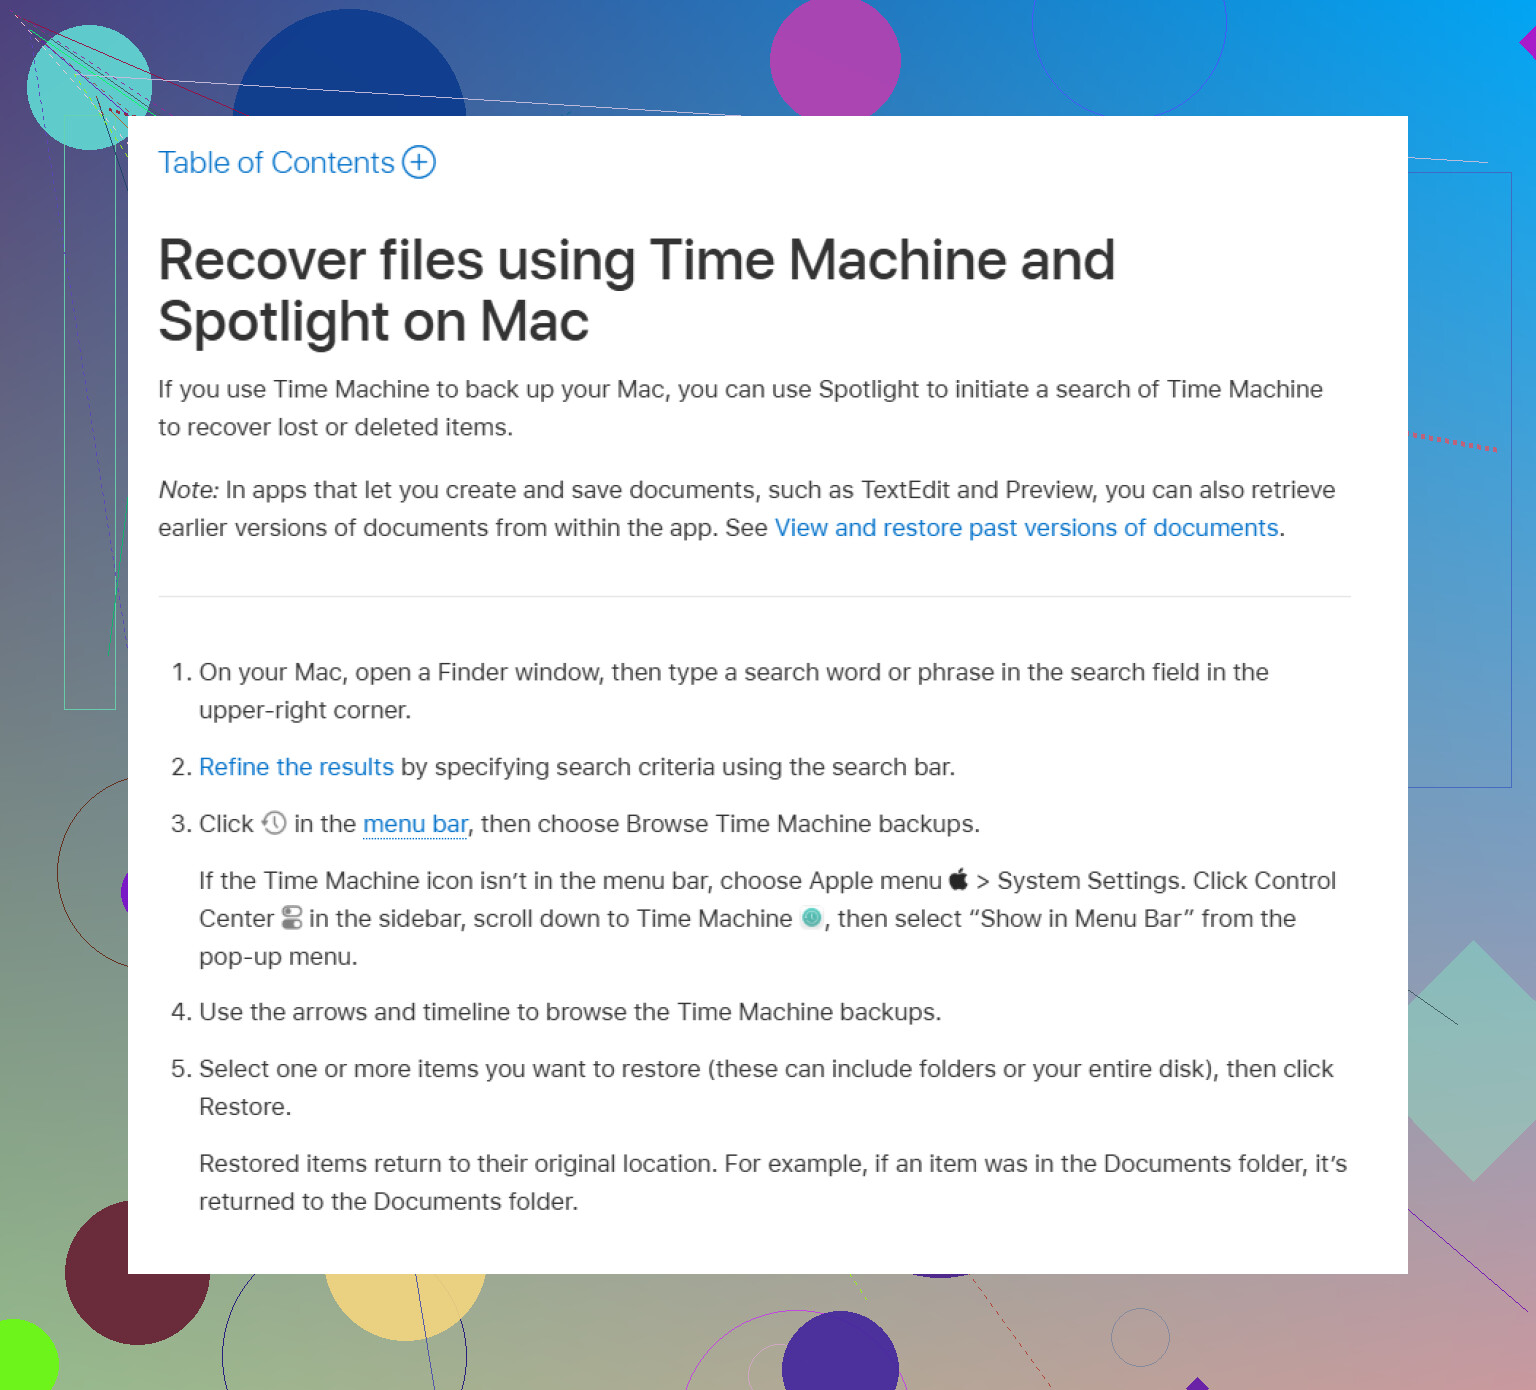
After that, check Time Machine if you had it enabled before the files went missing. Open Time Machine from the menu bar, go back to a date when the files were still there, select what you need, and hit “Restore.”
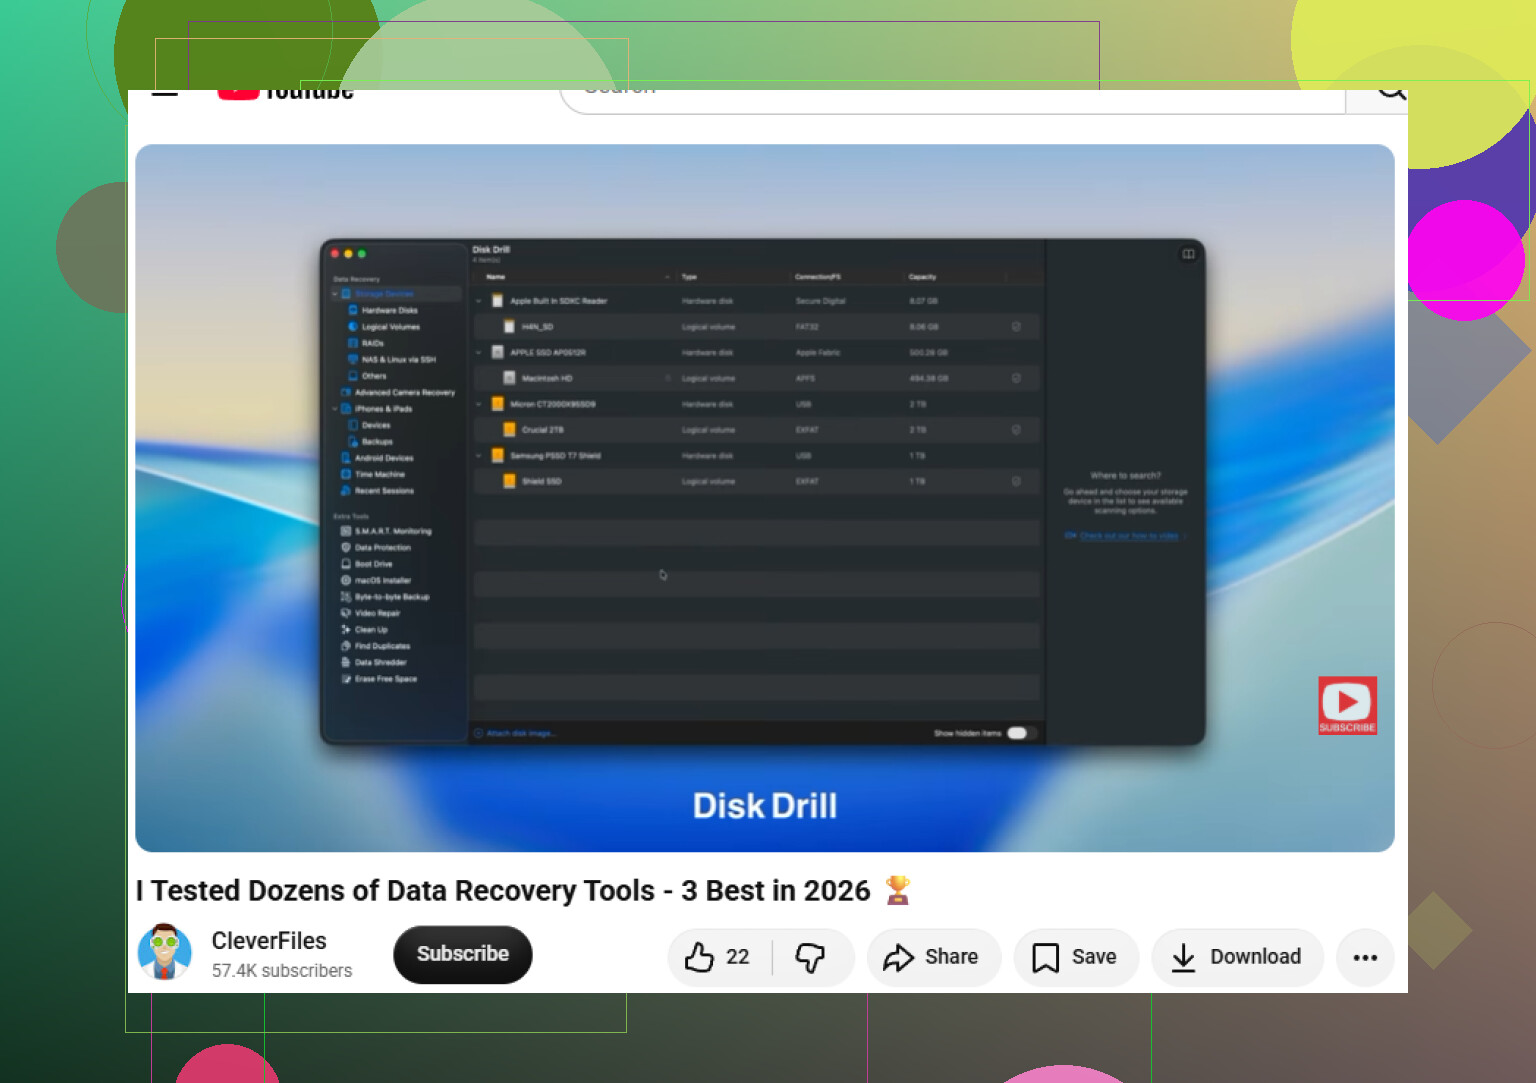
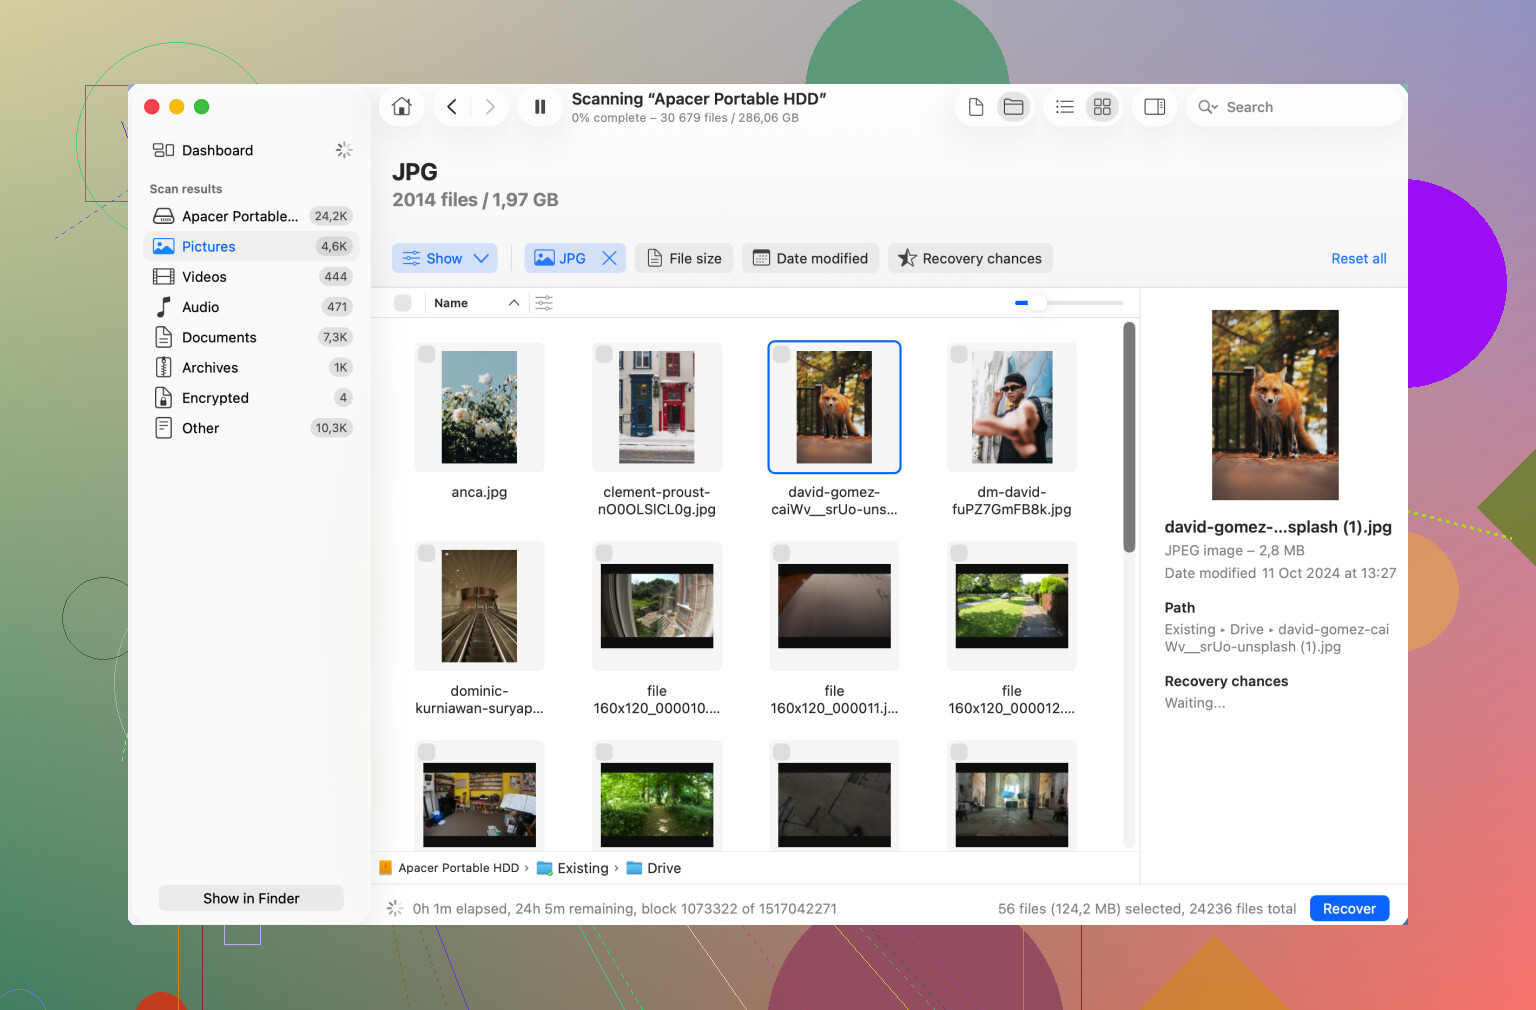
If there’s no backup and the Trash is empty, then a recovery app is probably the next realistic step. Disk Drill is one of the more common Mac options. It works with Mac formats like APFS and HFS+, and it’s fairly easy to work through compared with some of the more technical tools.
These apps usually scan in a couple different ways. A basic scan may look for old file system records. A deeper scan looks for file signatures, so it might still find a photo, document, video, or archive even if the original name and folder location are gone.
One thing to watch for: if the drive is acting flaky, don’t hammer it with repeated scans. If it takes forever to mount, disconnects randomly, or behaves strangely, make a byte-for-byte image first and scan the image instead of the physical drive. That gives you a better shot without stressing hardware that may already be failing.
If you hear clicking, grinding, weird spinning sounds, or anything that points to mechanical damage, stop. Power it off and disconnect it. Software recovery is not the right move for a physically failing drive, especially if the files matter. A professional recovery service can be expensive, but it’s the safer option for critical data.
Once you get through this, set up backups so you’re not stuck in the same spot again. Time Machine is good for a local backup, and a cloud backup adds another layer if the drive dies, gets lost, or something else goes wrong.
So the order I’d follow is: stop using the drive, check the normal Trash, check the hidden .Trashes folder if it’s an external drive, try Time Machine, then use recovery software if needed. If the data hasn’t been overwritten or the drive hasn’t physically failed, there’s still a decent chance it can be recovered.
1 Like
Storage being used doesn’t prove those exact folders are still sitting there intact, since APFS snapshots, caches, or iCloud placeholders can make space look “occupied.” I’d follow @mikeappsreviewer’s caution about not writing to the disk, but don’t treat the storage bar as evidence by itself. Check Finder search with system files included, then Time Machine or recovery software if the folders still don’t show.
Recovery software is a last resort on a modern Mac SSD.
I agree with the “stop using the drive” advice, but I’d be a little less optimistic about undelete tools if this is the internal drive of a newer Mac. APFS, FileVault, and SSD TRIM can make deleted-file recovery a lot less magical than people expect. If the files were actually deleted, a scanner may find names, fragments, or nothing useful at all. If the folders are only misplaced, hidden, synced somewhere weird, or under another user account, your odds are much better.
Before scanning, I’d check whether macOS simply isn’t showing the place you think the folders should be.
Open Finder and try these paths with Go > Go to Folder:
~/Desktop
~/Documents
~/Downloads
/Users
If you see more than one user folder under /Users, check the other one. Sometimes after a restart, account repair, migration, or iCloud weirdness, people are looking in a fresh home folder while the old one is still sitting there. You may not have permission to open everything, but the folder names can tell you a lot.
If the missing stuff was on Desktop or Documents, check iCloud Drive too. Apple’s “Desktop & Documents Folders” setting can move those folders into iCloud Drive, and Finder can make this confusing. Look in Finder sidebar > iCloud Drive > Desktop and Documents. Also check System Settings > Apple ID > iCloud Drive and see whether Desktop & Documents is enabled. Don’t toggle random sync settings yet if you’re worried about deletion spreading, but do inspect what’s there.
Finder search is not always enough either. Spotlight can miss files if indexing is broken or if the folder is outside the indexed locations. A quick Terminal search can sometimes find obvious misses. For example, if you know part of a folder name:
sudo find /Users -iname '*foldername*' 2>/dev/null
That is slow and ugly, but it searches the user folders directly instead of trusting Finder’s view. If the folder turns up, copy it somewhere safe before doing anything else.
Another thing people forget is tags and Recents. If you recently opened the files, check the app’s recent files list, not just Finder. Word, Excel, Preview, Photoshop, etc. may show the last known path. Even if the file will not open, the path can reveal whether it was in iCloud, an external volume, another user folder, or some renamed directory.
If you do end up using Disk Drill or another recovery tool, don’t install it onto the same drive you are trying to recover from. That can overwrite exactly the space you want to scan. Run it from another Mac if possible, or install it on an external drive. And save recovered files to a different drive, never back to the problem disk.
For an external hard drive, recovery software has a better chance, especially if it is HFS+ or APFS on a spinning disk and the drive is healthy. For the internal SSD on a recent Mac, I’d put more energy into finding snapshots, backups, iCloud copies, old user folders, and app recent paths before paying for recovery.
The storage being “used” is only a clue. It might be your missing folders, but it might also be local Time Machine snapshots, iCloud cached files, Photos library storage, app containers, or system data. If you want to see what is actually taking space, use Finder or a disk space viewer to inspect folder sizes, but avoid cleanup tools for now. Cleaning “System Data” while you’re missing files is a good way to turn a recoverable situation into a worse one.
My order would be: check the real folder paths, check /Users, check iCloud Drive, search by filename from Terminal, look at app recent-file paths, then scan. If the drive is making noise or disconnecting, skip the software scan and clone it or send it out. If it’s just Finder acting weird, there’s a decent chance the folders are still there under a path you’re not looking at.