I accidentally deleted a partition in Windows Disk Management while trying to free up space, and now that drive section shows as unallocated. I’m worried I may lose important files and need help figuring out the safest way to recover the deleted partition and restore the data without making things worse.
I did the same dumb thing once in Disk Management and wiped the wrong partition. It looked bad, but it wasn’t instant death for the data. Most of the time, deleting a partition removes the map entry, not the files themselves. The stuff usually stays there until new data lands on top of it. So if you caught it early, your odds are still decent.
First move, stop touching the drive.
Do not make a new partition. Do not format the empty space. Do not copy anything onto it. Those three mistakes are what sink recovery attempts fast.
Then check what Windows is showing you. Open Disk Management and look closely.
If the partition still shows up and it only lost its drive letter, adding a letter might bring it back right away.
If the area shows as Unallocated, then yeah, the partition entry was likely deleted.
This is the order I’d stick to:
- Stop using the drive.
- Pull off the important files first.
- Open a few recovered files and make sure they aren’t broken.
- After recovery, either restore the old partition with TestDisk or make a fresh one in Disk Management.
- If you made a new partition, copy the recovered files back after.
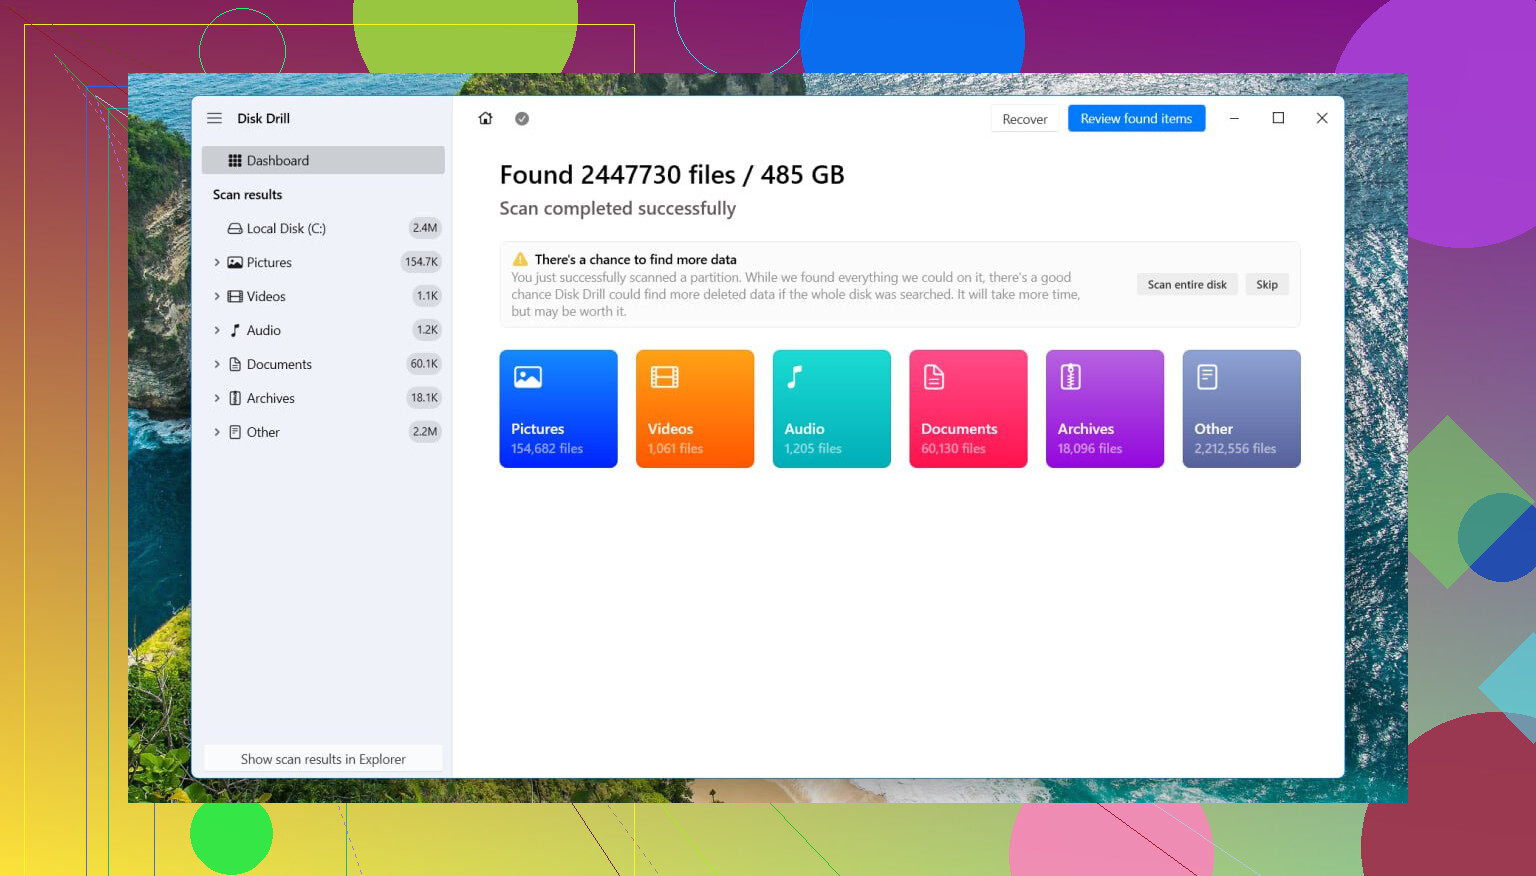
For file recovery, I’d use Disk Drill. I’ve had better luck with it than with some of the older tools people toss around in forum replies. It tends to spot deleted partitions and individual files, and in my case it kept folder names and file names intact, which saved a ton of sorting later.
I ran through this on Windows 11. Older Windows versions are close enough where the same flow still applies.
Recover your files with Disk Drill
- Install Disk Drill onto a different drive. Do not install it onto the drive you’re trying to recover from.
- Open it, then pick the physical disk where the deleted partition used to live.
- Click Search for Lost Data. On an external drive, it might ask which recovery mode you want. Pick Universal Scan in almost every normal case. If you’re trying to recover video clips from a camera card or drone storage, use Advanced Camera Recovery instead.
- Let the scan finish. If it finds the deleted partition, open it and look through the contents.
- Preview a few files. I always test images, documents, and one larger file if possible.
- Select what you need, then hit Recover.
- Save the recovered data to another drive. Don’t write it back to the original disk.
After your files are safe and you’ve checked a few of them, you’ve got two paths.
Option 1: Put the original partition back with TestDisk
If you want the old partition layout back instead of starting over, TestDisk is usually the tool people reach for. It’s free, and when the partition table entry wasn’t overwritten, it often works cleanly.
- Download TestDisk, extract it, and run testdisk_win.
- When it asks about logging, choose Create.
- Select the physical disk where the missing partition was.
- Go with the partition table type it detects.
- Choose Analyse, then run Quick Search.
- If it comes up empty, run Deeper Search.
- When the missing partition appears, highlight it and choose Write.
- Confirm, then restart the PC.
When this works, the partition often returns looking the way it did before. Same structure, same volume, less cleanup.
Option 2: Make a new partition and move on
If your goal is only to get the drive usable again after file recovery, this route is easier and less fussy.
- Open Disk Management.
- Right-click the Unallocated space and choose New Simple Volume.
- Go through the wizard, assign a drive letter, and pick the file system you want. Most people use NTFS.
- Keep Quick Format checked, then finish.
Once that’s done, copy your recovered files back onto the new partition.
One thing people skip over, SSDs are less forgiving. If the drive is an SSD, move fast. TRIM can wipe deleted blocks in the background, and once that happens, recovery gets rough or flat-out fails. Old spinning hard drives usually give you a better shot, as long as you don’t write new data to them.
1 Like
If the space now shows as Unallocated, your first job is to preserve what is still there. I agree with @mikeappsreviewer on stopping all writes. Where I differ a bit, I would try partition recovery before doing a full file-by-file recovery if the partition was deleted only moments ago and nothing else touched the disk. On a hard drive, restoring the partition entry is often faster and keeps the folder tree intact.
Do this in order.
- Shut down anything using that disk.
- If it is an external drive, unplug it until you are ready.
- Check if the drive is an SSD or HDD. SSD recovery rates drop fast because of TRIM.
- If the files matter a lot, make a sector-by-sector image first with a tool like HDD Raw Copy Tool or ddrescue. Work from the image, not the original. This step gets skipped too oftne.
Then pick a path.
Path A, restore the deleted partition table entry.
Use TestDisk first. It is ugly, but it works well when the partition itself was deleted and the data blocks were not overwritten. If TestDisk shows your old partition with the correct size and file system, writing the partition table back is the cleanest fix.
Path B, recover files out of the lost partition.
If TestDisk does not find a clean entry, switch to Disk Drill and scan the physical disk, not the unallocated chunk as a volume. Disk Drill is easier to sort through than most recovery tools, and it does a decent job with deleted partitions on Windows. Recover to a different drive only. Open a sample of docs, photos, and videos before you assume the job is done.
One more thing. Do not create a new simple volume yet. People do this becuase Windows makes it look like the next step. It is not.
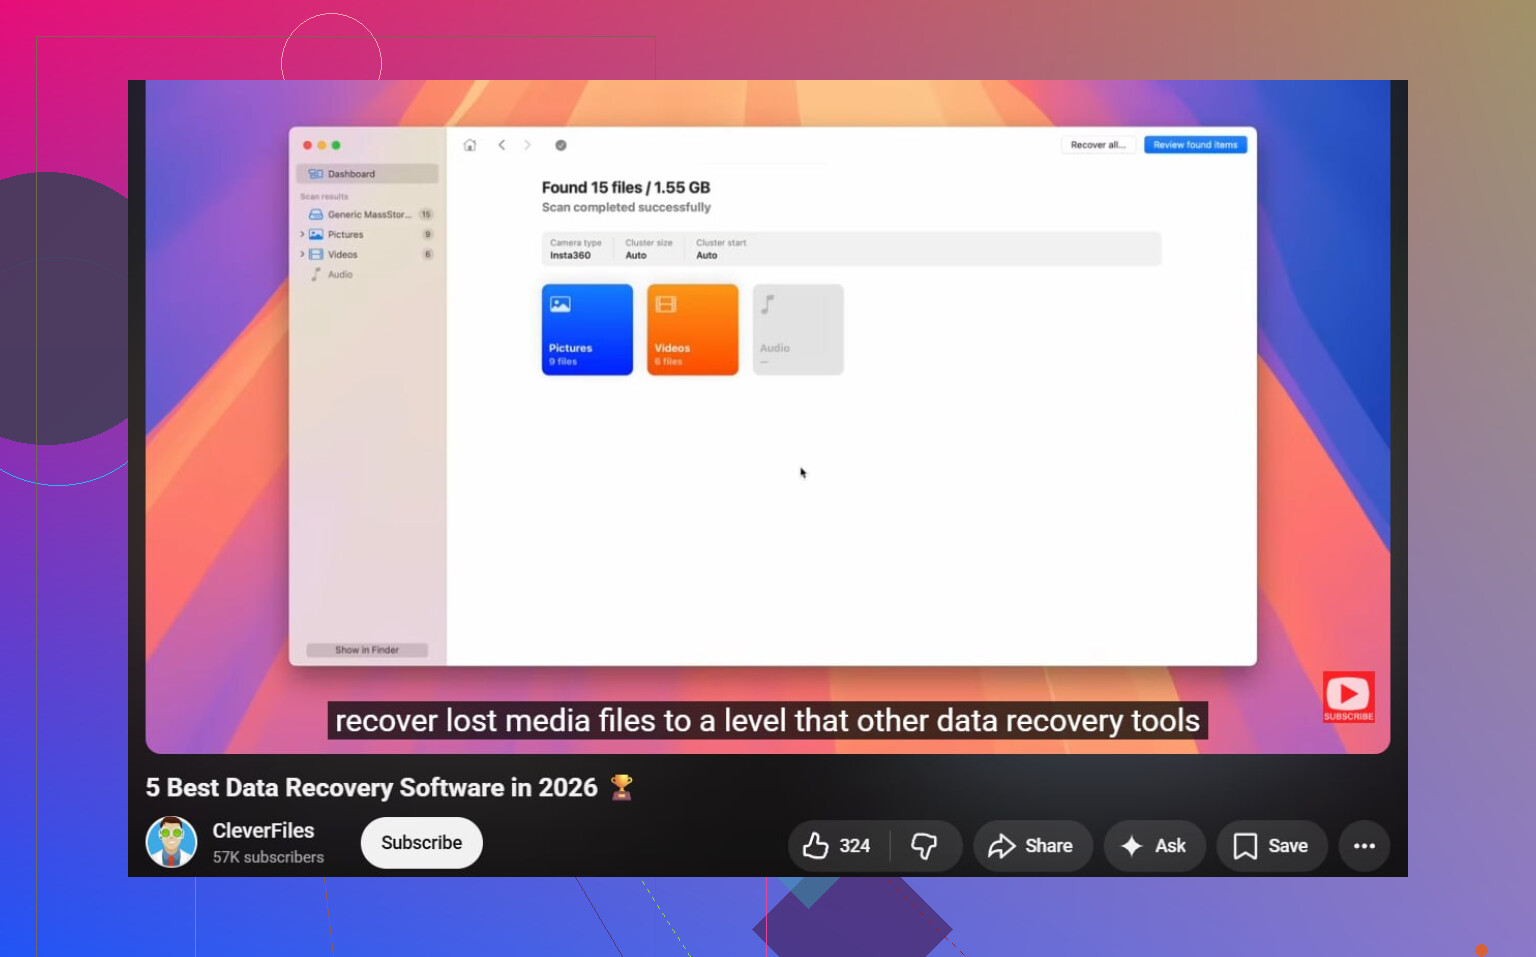
If you want extra reading, this roundup on the best data recovery software for 2026 is useful, plus this video on how to choose the right data recovery software.
After recovery, then re-create the partition and format it. Not before.
If it only just happened, I’d actually avoid doing too much “recovery work” right away and verify one boring thing first: did you delete the partition, or did Windows just lose the volume metadata/letter? A quick check in DiskPart can tell you more clearly than Disk Management sometimes.
Open Command Prompt as admin and run:
diskpart
list disk
select disk X
list partition
list volume
If the partition is gone there too and the space is truly unallocated, then yeah, stop using that disk.
I mostly agree with @mikeappsreviewer and @viajeroceleste, but I’m a little less eager to write the partition table back on the original disk unless the data is replaceable. If the files are important, the safest move is usually: image first, experiment second. People skip that because it’s annoying, then regret it later.
A few things that matter:
- HDD = better recovery odds
- SSD = worse odds because TRIM can nuke recoverable data fast
- External USB drives sometimes add weird behavior, so test carefully
- Dynamic disks and BitLocker change the game a bit
Also check Event Viewer or SMART status if the drive was acting flaky before this. If the disk has hardware issues, logical recovery can get messy real fast.
If you just need files back, scanning the physical disk with Disk Drill is a pretty practical option because it can detect lost partitions and recover files without you rebuilding the layout first. Save recovered stuff somewhere else, obviosuly. If you want a readable walkthrough, this covers the safest way to recover a deleted partition in Windows.
One hard no: don’t create a new volume yet. Windows makes that look normal, but it’s how people turn a recoverable mistake into a bigger one.
If it’s truly Unallocated, I’d add one caution to what @viajeroceleste, @sonhadordobosque, and @mikeappsreviewer said: before jumping into recovery tools, confirm whether this was a basic disk or something trickier like BitLocker, Storage Spaces, or Dynamic Disk. Those cases can change what “safe” means.
My take:
- Best case: only the partition entry was deleted
- Worst case: you already wrote something new, or it’s an SSD and TRIM kicked in
One thing I slightly disagree on: I would not rush to restore the partition entry on the original drive if the files are critical and you have no backup. Imaging first is slower, but safer.
What I’d do now:
- Stop using the disk completely
- Check if it’s SSD or HDD
- Look in DiskPart to confirm the partition is really gone
- If the data matters, clone/image the disk
- Then scan the physical disk with Disk Drill or another recovery tool
Disk Drill pros
- Easy to use
- Good at finding lost partitions and files
- Preview helps verify recovery before saving
- Better for non-technical users than many old-school tools
Disk Drill cons
- Not the cheapest option
- Deep scans can take a long time
- On badly damaged drives, it’s not a substitute for hardware-level recovery
If it finds your files, recover them to another drive only. After that, rebuild the partition. If the files are truly irreplaceable, skip DIY and go straight to a pro lab.