I’m trying to recover files from a drive with a GPT partition that suddenly became unreadable after a system crash. Windows detects the disk, but the partition doesn’t open, and I don’t want to make things worse by using the wrong data recovery software. What GPT partition recovery tools are safe and reliable?
First thing: don’t write anything else to that drive. Seriously, stop using it until you’ve copied the data somewhere safe.
When a disk suddenly shows as “RAW” or “Unallocated” in Disk Management, it usually means Windows can’t make sense of the partition information anymore. With GPT disks, that can look scary, but it’s not always the disaster it seems like. GPT keeps a backup header at the end of the disk, so if the drive itself is still healthy, recovery is often very possible.
If this is your Windows boot drive, the safest move is to shut the machine down, remove the drive, and connect it to another computer as a secondary drive. You don’t want Windows running from the same disk you’re trying to recover, because the OS may treat that space as free and start writing temp files, updates, logs, or other junk over your real data.
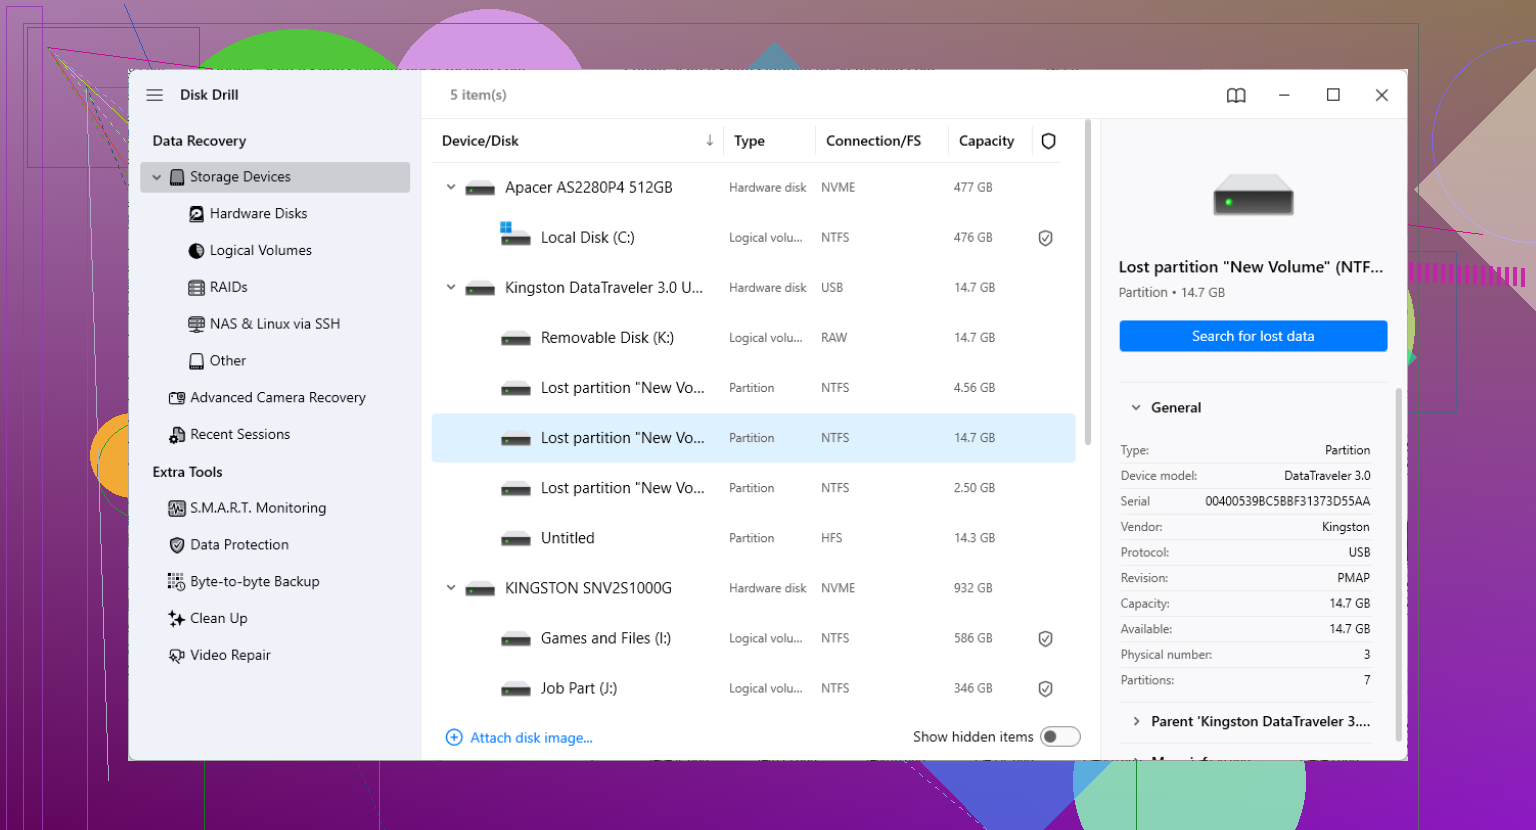
For most people, I’d start with Disk Drill before trying to manually repair the partition table. Manual GPT fixes can work, but they’re easy to mess up if you don’t know exactly what you’re changing. One wrong offset or write operation can turn a recoverable problem into a much worse one.
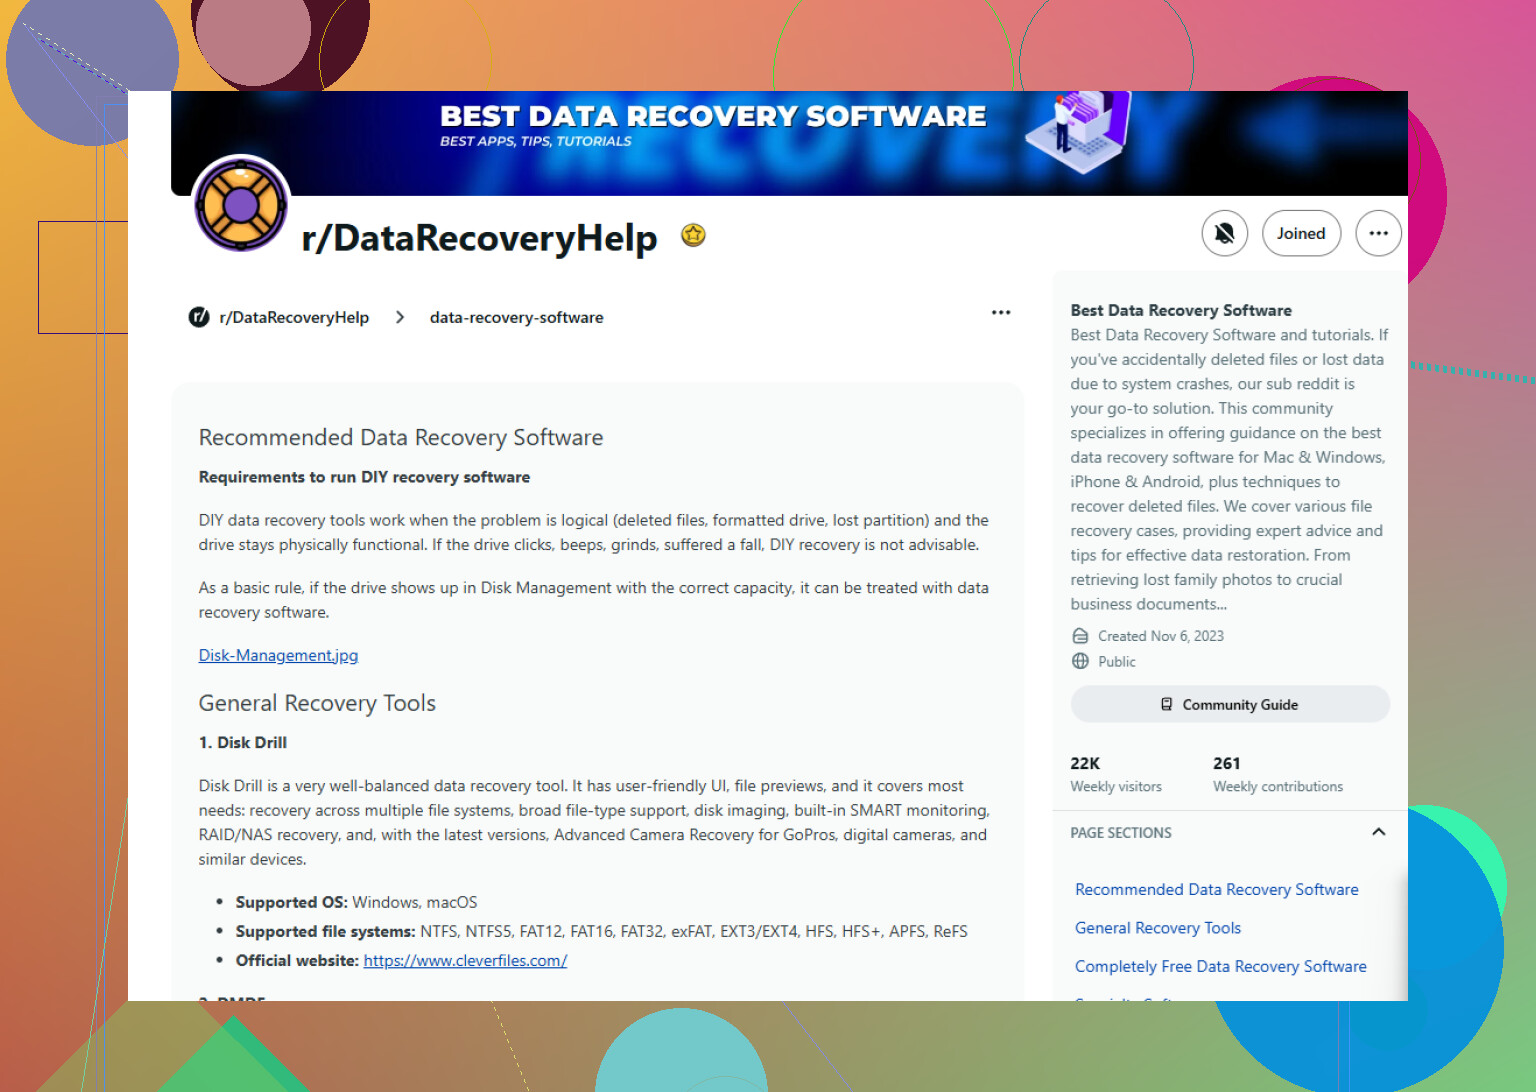
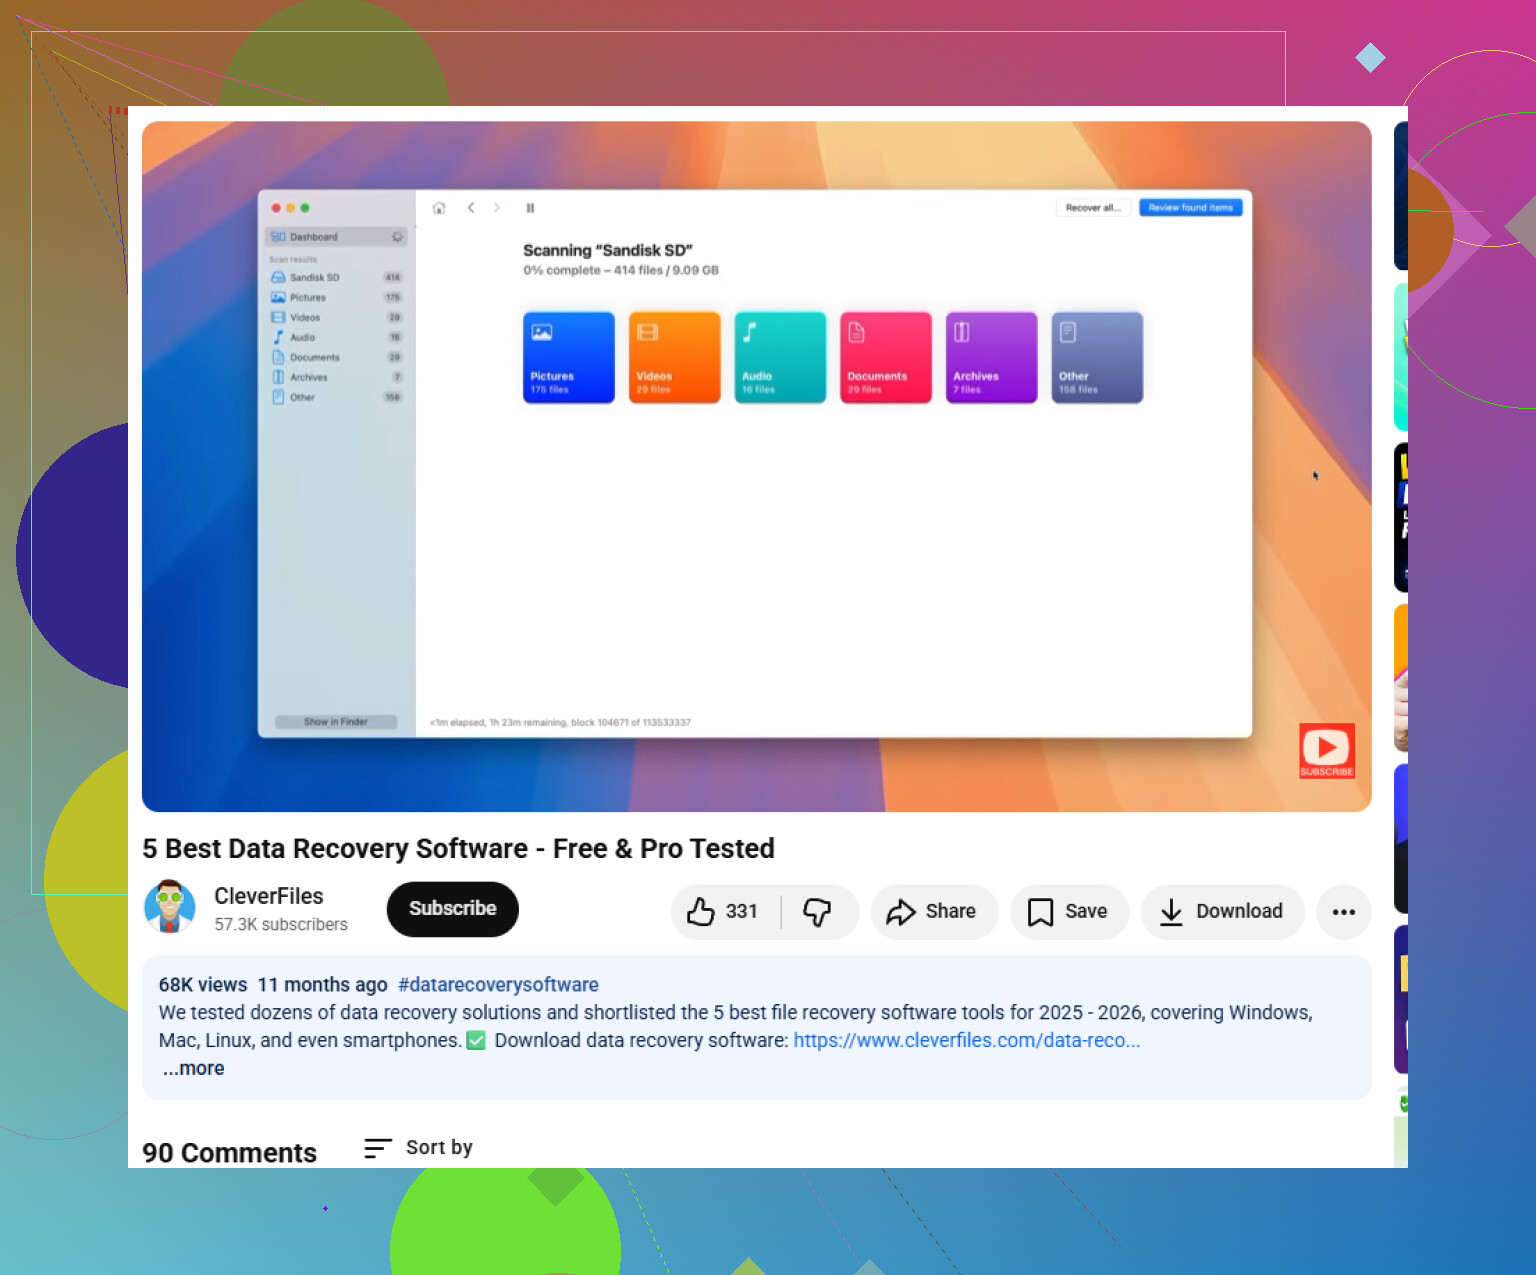
Disk Drill is useful in this kind of situation because it doesn’t rely only on the broken partition table. It can scan the whole disk and look for file signatures, which is why it often helps with RAW volumes where Windows basically gives up. Its “Search for lost data” scan supports common file systems like NTFS, exFAT, and HFS+, and the preview feature is important because you can check whether your files are actually intact before recovering them.
One rule you really don’t want to ignore: recover the files to a different drive. Do not save recovered files back onto the same damaged disk. Use another healthy external drive with enough space.
If you’re comfortable with command-line tools, TestDisk is another option. It’s been around forever and is specifically made for finding lost partitions and rebuilding partition table entries. The scan itself is non-destructive, but the interface is not beginner-friendly, and once you start writing changes, you need to know what you’re doing.
There’s also gdisk, which is more GPT-focused. Its recovery and transformation options can sometimes rebuild the primary GPT header from the backup header stored at the end of the disk. Again, useful tool, but not something I’d click through blindly.
Also watch out for the drive showing up as a “GPT Protective Partition.” That can happen when a large drive gets moved between older 32-bit systems and newer 64-bit ones, or when a USB dock/enclosure handles sector sizes differently, like pretending the disk uses 4K sectors. If you see that, do not run Diskpart’s “clean” command. That wipes the partition table. Pull the files first with a recovery scanner, then worry about repartitioning or formatting later.
The safest order is: stop using the disk, scan it, recover the data to another drive, then think about repairing or reformatting. Don’t rush the “fix” part before the files are copied out. If the hardware itself is still okay, there’s a decent chance you can get the data back.
1 Like
Make a sector-by-sector image of the drive first if the disk is clicking, disconnecting, or taking forever to show folders. Scanning the original drive directly can stress a dying disk for hours, and recovery software can only help if the drive stays readable long enough. After you have an image or clone, run Disk Drill or TestDisk against that copy instead of the physical disk. If the drive sounds normal and SMART doesn’t show obvious failure, scanning the disk itself is less risky, but I’d still recover to another drive only. The mistake people make is trying “repair” tools before copying anything out. Repair is for after the important files are already somewhere safe.
Expect the recovery to be messy if the file system metadata is damaged, even when the actual files are still sitting on the platters or NAND. People sometimes assume “the scan found my files” means the folder tree and filenames will come back cleanly, but that depends on what part got corrupted.
The advice above about imaging first is the part I would take seriously, especially if this drive contains anything you can’t replace. A GPT problem and a file system problem are not the same thing. GPT is basically the map that says where the partitions begin and end. NTFS/exFAT is the stuff inside the partition that tracks folders, filenames, dates, and which blocks belong to each file. If the GPT map is broken but the file system is fine, tools can often rebuild the partition entry and everything looks normal again. If the file system itself is damaged, recovery software may still pull files out, but you might get generic names, missing folder structure, duplicates, or files that preview halfway and then fail.
That is why I wouldn’t rush straight into “repair partition” mode. I’d treat the drive like evidence first:
- Don’t initialize it if Windows asks.
- Don’t format it.
- Don’t run chkdsk /f or /r yet.
- Don’t use Diskpart clean.
- Don’t save recovered files back onto that same drive.
chkdsk deserves its own warning because it sounds safe and official. It can be useful on a healthy volume with minor file system errors, but on a damaged or partially unreadable volume it can delete broken records, move things into found.000, or make changes that are bad for recovery. It is not a “show me what’s wrong” tool once you use the repair switches.
Disk Drill is fine as a first pass if you want a GUI and previews, but keep your expectations straight. If it shows your original folder structure, that’s a better sign than only showing “reconstructed” files by type. A signature-based scan can find JPEGs, DOCX files, ZIPs, videos, etc., but it may not know the original names or folders. That is not necessarily the software failing. It may mean the metadata that contained that information is gone or unreadable.
TestDisk is more of a partition-table tool than a general “get my files back nicely” tool. It can be great when the partition boundaries are wrong or missing. It can also be the wrong tool if the partition entry is fine but NTFS is trashed. Before writing any changes with it, use its file listing feature if possible. If it can list your files inside the found partition, that’s a good sign. If it only finds vague partition candidates and you’re guessing, stop there.
Another thing people forget: if the drive was BitLocker encrypted, normal recovery rules change. A raw scan of encrypted data may just find junk unless the volume can be unlocked or you have the recovery key. If this was a Windows system drive, check whether BitLocker was enabled before spending hours wondering why recovered files are unusable.
My order would be boring but safe: make an image if the data matters, scan the image or clone, recover the important stuff to a different disk, open a sample of recovered files to make sure they’re real, then think about fixing GPT or reformatting. If the files are worth more than the drive or the software license, don’t keep experimenting on the original disk. A recovery shop gets more expensive after several failed repair attempts.
If this is an SSD, don’t leave it plugged in while you debate tools, because TRIM and background cleanup can reduce what’s recoverable after the volume gets changed or deleted. Disk Drill or TestDisk may still see files, but make the clone first if the data matters, then scan the clone instead of giving the original drive hours of extra wear.