My external USB hard drive started making errors, and now some folders won’t open because of bad sectors. It has important photos and work files I haven’t backed up yet. I need help figuring out the safest way to recover the data without causing more damage to the drive.
Cyclic redundancy check errors are the sort of thing I stopped shrugging off after one drive went from ‘opens slow’ to ‘won’t mount’ in a day. If your PC freezes when you open a folder, or Windows throws CRC errors, stop writing to the drive right away.
If it is an external drive, unplug it. If it is your internal system disk, power the machine off. I know people hate hearing ‘stop using it,’ but every extra boot and every retry against damaged spots puts more strain on the drive. The OS keeps poking bad areas. Firmware does too. Sometimes that is where the slide gets steeper.
What usually sits behind CRC errors falls into two buckets.
Logical bad sectors, also called soft bad sectors. Those show up when the stored data and the drive’s error checking no longer match. I have seen this after power cuts, hard shutdowns, and one dumb moment where I yanked a USB drive too fast. The disk surface might still be fine, so recovery or repair has a shot.
Physical bad sectors are uglier. Those point to hardware trouble, platter damage, weak head assembly, wear, stuff like that. No software fixes the hardware. The best a tool does is work around bad regions and try to pull readable data before the drive gets worse.
One thing I would not do first is run CHKDSK if the files matter.
People reach for it because it is built in and familiar. The problem is CHKDSK is aimed at making the file system usable again. It is not a careful recovery tool. On damaged disks, it sometimes rewrites metadata, drops broken references, or changes the state of the file system in ways that make later recovery harder. I have watched people lose the easy recovery path because they ‘tried to fix it’ too soon.
The safer move is this:
Make a full sector by sector copy first. Either a clone to another drive or an image file stored on a healthy disk. One pass. Minimal stress. Then do your recovery work from the copy, not the original.
For a do-it-yourself attempt, recovery software makes more sense than repair software. Disk Drill is one option people use for this because it includes backup tools meant for shaky drives. What helps is the way it handles unreadable spots. Instead of hanging forever on one bad block, it skips ahead, grabs the readable data first, then circles back and retries the rough areas with smaller reads. On a weak drive, tt matters.
The flow is pretty simple.
Connect a healthy drive with enough free space.
Create a byte for byte image of the failing disk.
Scan the image for recoverable files.
Save recovered files to a different drive.
That last part matters more than people think. Do not restore files back onto the original bad drive. Do not save them onto the same destination holding the image if you can avoid it. Use a separate third disk for recovered data.
There is also a point where DIY stops making sense.
If the drive clicks, grinds, beeps, does not spin up, vanishes from BIOS, or is not recognized at all, I would treat it as mechanical failure first. Software is not the fix there. In some cases, repeated power-ons make the damage worse. If the files are irreplaceable, go to a recovery lab. Gillware and Techchef are two known names. They have the hardware and cleanroom setup for damaged drives. It is not cheap. Prices often land anywhere from a few hundred dollars to a few thousand, depending on what failed and how bad the media is.
Only after your data is copied out and checked should you think about trying repairs on the original drive.
At that stage, people usually do a full format or run chkdsk /r so the system marks bad sectors and avoids them later. Even then, I would not trust a drive like this for anything important. Once a disk starts throwing signs like CRC errors, freezes, or unreadable patches, I treat it like a device on borrowed time.
What helped me more than any recovery app was changing how I store files after the fact. Use 3-2-1 backups. Keep 3 copies. Use 2 kinds of storage. Keep 1 copy off-site or in cloud storage. It sounds boring until a drive goes bad and you are staring at baby photos, project files, or tax docs on a disk making weird noises.
1 Like
Stop using the drive. I agree with @mikeappsreviewer on that part. Where I differ a bit is I would check the easy external stuff before assuming the platters are dying.
Try this first.
- Use a different USB cable.
- Plug it into a rear USB port, not a hub.
- If the enclosure has its own power brick, make sure it is stable.
- If possible, remove the disk from the USB enclosure and connect it by SATA in a desktop, or use a diffrent enclosure.
A lot of “bad sector” cases on USB drives turn out to be flaky USB bridge boards or weak power. CRC errors often point at read problems, and sometimes the disk is fine but the enclosure is trash.
Next, read SMART data. Use CrystalDiskInfo or smartctl. Look at:
- Reallocated Sector Count
- Current Pending Sector Count
- Uncorrectable Sector Count
- CRC Error Count
If Pending or Uncorrectable is above 0, treat the drive as unstable. If CRC climbs but the sector counts stay low, I’d suspect cable or enclosure first.
If the drive stays readable long enough, copy your most important folders first by priority. Photos, work docs, anything unique. Do not sort by name and browse all over the disk. Read in larger chunks. Fewer random seeks, less stress. TeraCopy helps because it logs failed files instead of freezing the whole copy job.
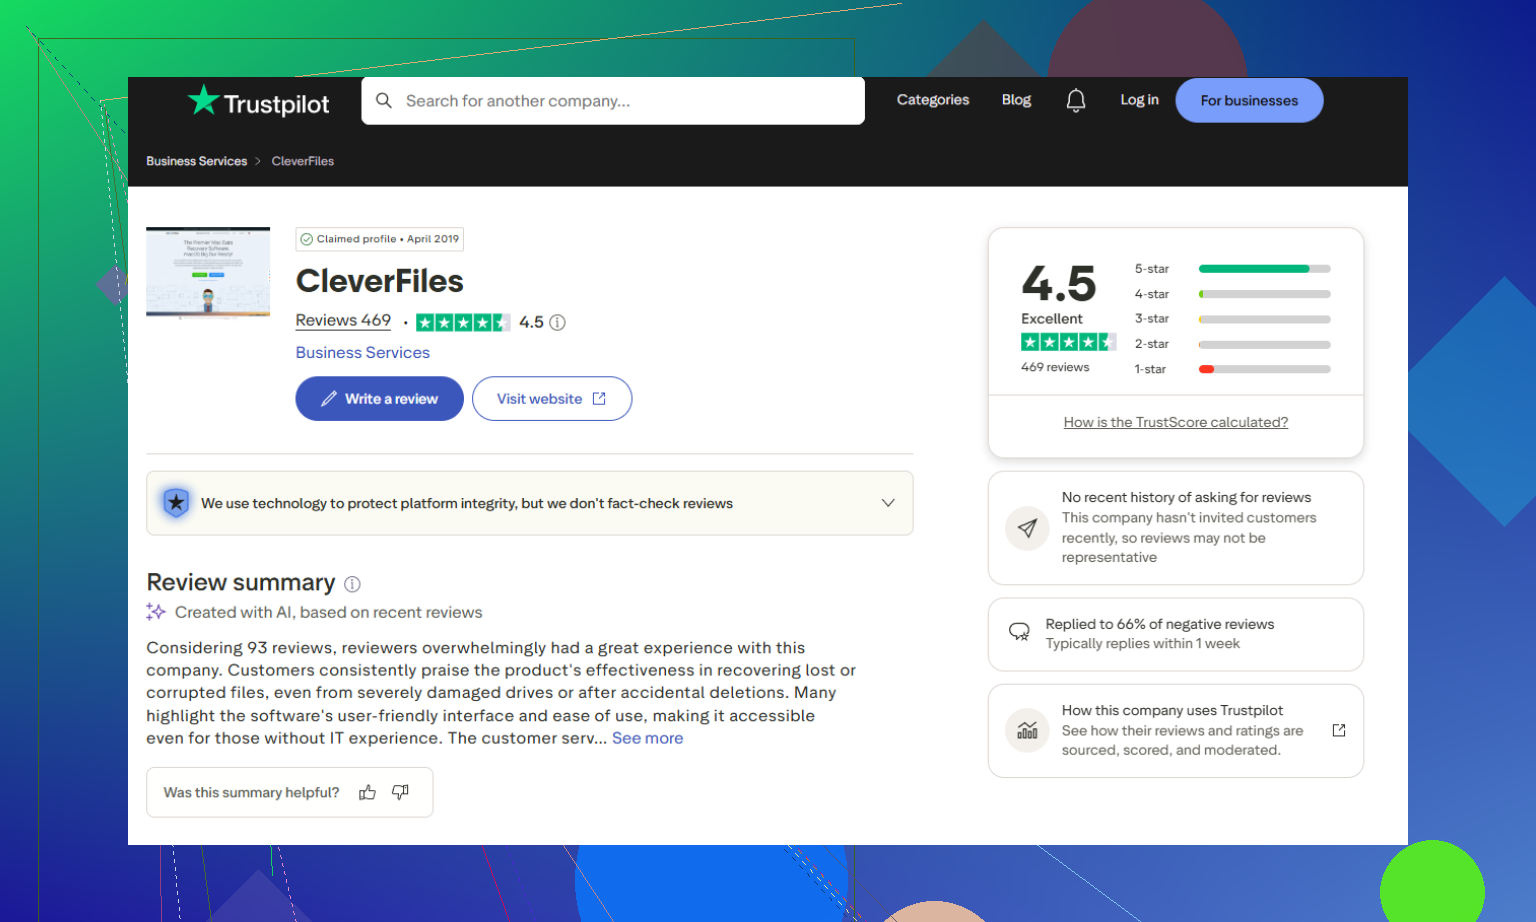
If normal copy fails, move to imaging or recovery software. Disk Drill is fine for scanning and pulling files from damaged media, especially after you get the drive visible in a stable connection. If you want a quick read on user feedback, this is useful: Disk Drill user reviews and ratings.
One more thing people skip. Feel the drive. If it is getting hot, cool it down and give it breaks. Heat pushes weak drives over the edge. Learned this the hard way, lol.
If it clicks, spins down, or disconnects mid-read, stop the DIY route. At taht point a lab is the safer bet.
I’m with @mikeappsreviewer on not treating this like a “repair the drive first” job, but I slightly disagree with the idea that you always need to jump straight into a full clone before anything else. If the drive is still semi-readable and you know exactly which files matter most, I’d grab the irreplaceable stuff first in the least invasive way possible. Family photos, current work files, exported docs, that kind of thing. Sometimes a dying USB drive gets dramatically worse during a long imaging pass.
What I would do:
- Stop opening random folders and previewing files
- Disable autoplay / thumbnail previews if Windows keeps poking the drive
- Copy only the highest-value files first to another disk
- If the copy keeps failing, then switch to imaging and recovery mode
Also, if this is really an external USB HDD, test it on a different machine with a different OS if possible. Windows Explorer can be a drama queen with damaged file systems, while another system may still read enough to pull data off.
One thing not mentioned enough is to check Event Viewer in Windows for disk, ntfs, or controller errors. If you see lots of controller resets or USB disconnects, that points more toward communication issues than a pure damaged storage sector problem.
If the drive is visible but flaky, Disk Drill makes sense for this because you can recover from an unstable disk image instead of beating on the original over and over. That’s the part people miss. Recovery from the copy is waaay safer.
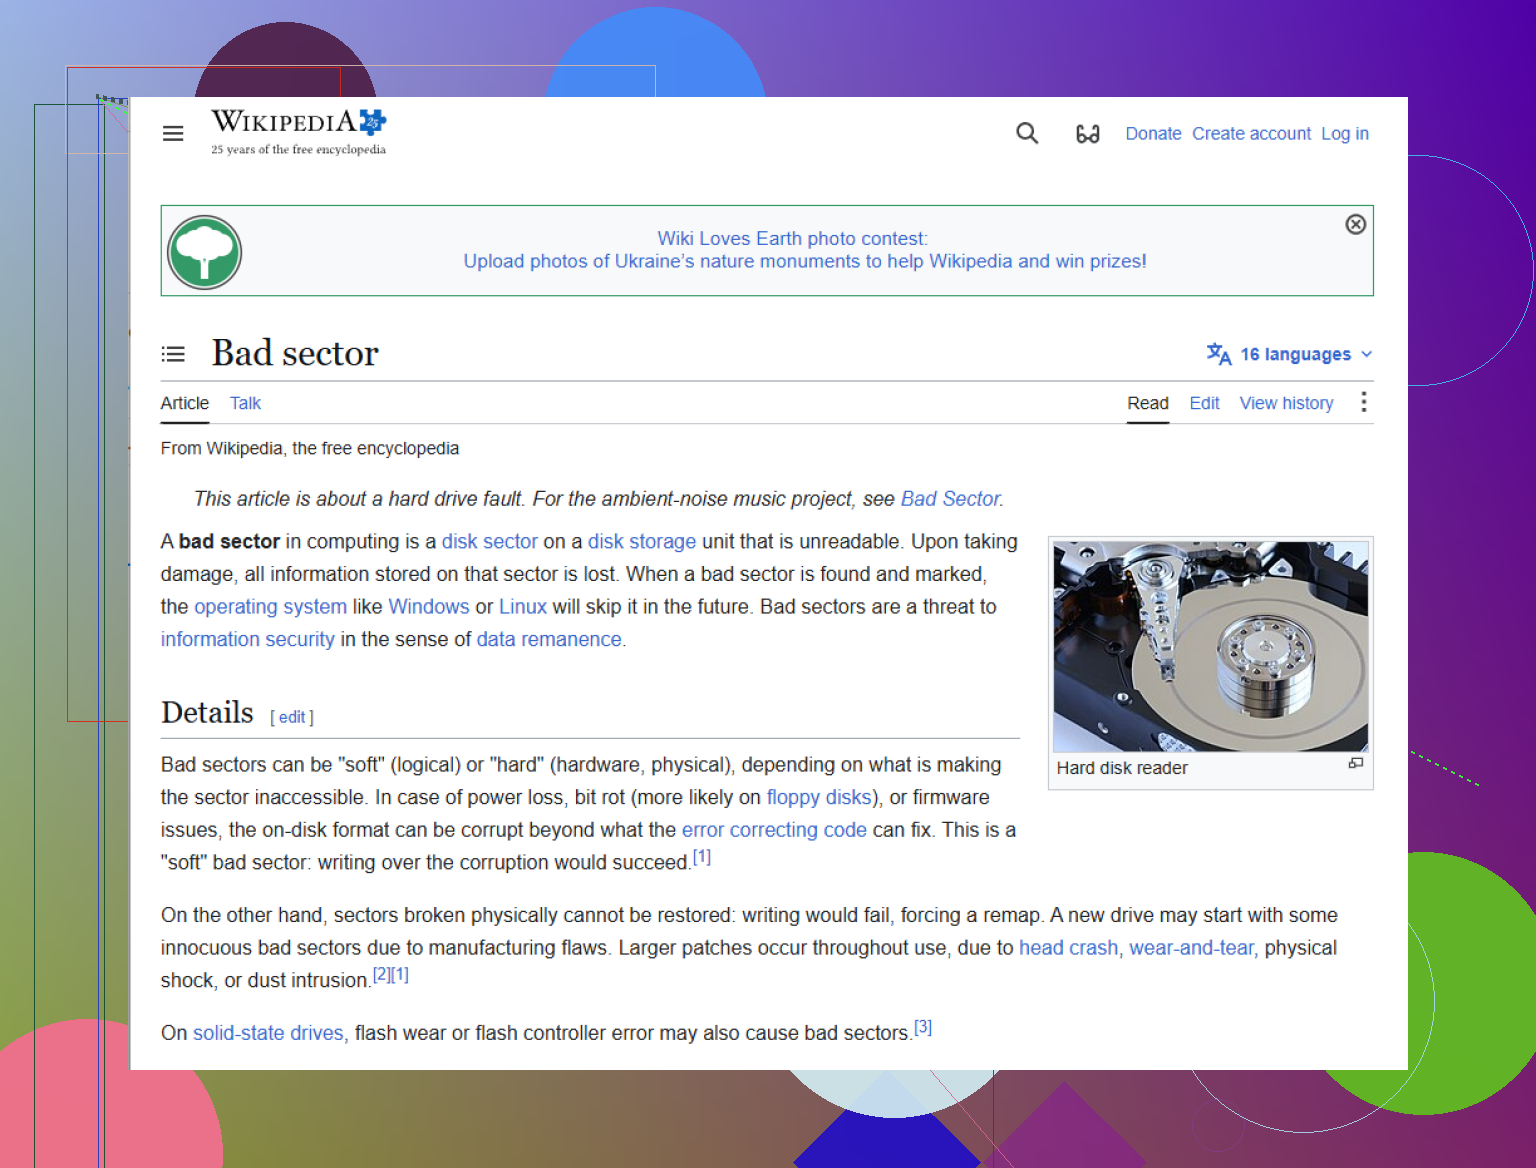
For reference on what a damaged storage sector actually is, this explains it decently: what a bad sector on a hard drive means
If the drive starts clicking, disappears, or takes forever just to identify itself, stop. That’s usually where DIY turns into “wish I hadn’t kept trying.”
I’d split this into two decisions, because @mikeappsreviewer, @ombrasilente, and @cazadordeestrellas already covered the usual rescue flow pretty well.
First decision: how valuable is the data?
If it is truly irreplaceable, I slightly disagree with the more aggressive DIY mindset people sometimes take. Even a “careful” clone can be the thing that pushes a weak drive over the edge. If these are business files and only copies of photos, a pro lab is not overkill, especially if the drive has started slowing down badly, disconnecting, or making new noises.
Second decision: if you do DIY, control Windows itself.
A lot of damage gets done by background activity, not just your manual copying. Before reconnecting the drive, I’d do this:
- turn off indexing for removable drives
- disable antivirus auto-scanning of that disk temporarily
- avoid File Explorer preview pane and thumbnail generation
- close any cloud sync apps that might touch new files automatically
That stuff causes extra reads people forget about.
One more angle: check the file system type and symptoms. If folders exist but won’t open, this may be partly metadata corruption, not just media failure. In that case, file recovery by signature can get your photos back but lose filenames/folder structure. So if directory structure matters, try to capture that sooner rather than later.
Disk Drill is reasonable here if the drive still enumerates consistently.
Pros:
- good for making a recoverable workflow from an unstable disk
- easy to use compared with command-line tools
- can pull files from an image instead of hammering the source repeatedly
Cons:
- not magic if the hardware is actively failing
- deep scans can take a long time on damaged disks
- results may lose original names/paths if filesystem metadata is too broken
My take: if the drive is stable enough to stay connected, recover the highest-value files or image it, then use Disk Drill on the image. If the device keeps dropping offline, skip more experiments and move to a lab fast. The biggest mistake is not bad software choice. It’s too many retries on a dying disk.