I accidentally permanently deleted important files on my Mac and realized too late that they were not in the Trash or backed up in Time Machine. I’m looking for real methods that actually work to recover deleted files on macOS, including trusted recovery software or built-in options. These documents are important for work, so I need help figuring out the safest and most effective way to get them back.
I’d treat this like a hurry-up problem, not a lost cause. Once you empty Trash, the easy restore button is gone. The file data might still be sitting there, though, until macOS writes over it or the SSD clears blocks through TRIM.
First thing I’d do, stop using the Mac. Seriously. Don’t install stuff. Don’t pull down downloads. Don’t move giant folders around. Skip updates. Every write to the same drive eats into your odds.
1. Check if the file is gone for real
I’ve seen files turn up in dumb places. So I’d recheck Finder search, open Trash again, and show hidden files with Command + Shift + . Sometimes a file got moved, hidden, or shoved into some synced folder you forgot existed.
2. Look at Time Machine and iCloud
If Time Machine was on, I’d open the folder where the file used to live, enter Time Machine, roll back to a point before deletion, and restore from there.
Then I’d check iCloud.com. Look through Recently Deleted, plus iCloud Drive, Desktop, Documents, and Photos if sync was enabled. I’ve seen stuff survive there even after people swear it was wiped.
3. Check APFS snapshots
This part gets missed a lot. Open Disk Utility, pick your main APFS Data volume, and see if snapshots exist from before the deletion. If one is there, mount it and copy the missing file out to a different location.
4. Try recovery software
If backups and snapshots come up empty, I’d move to recovery software fast.
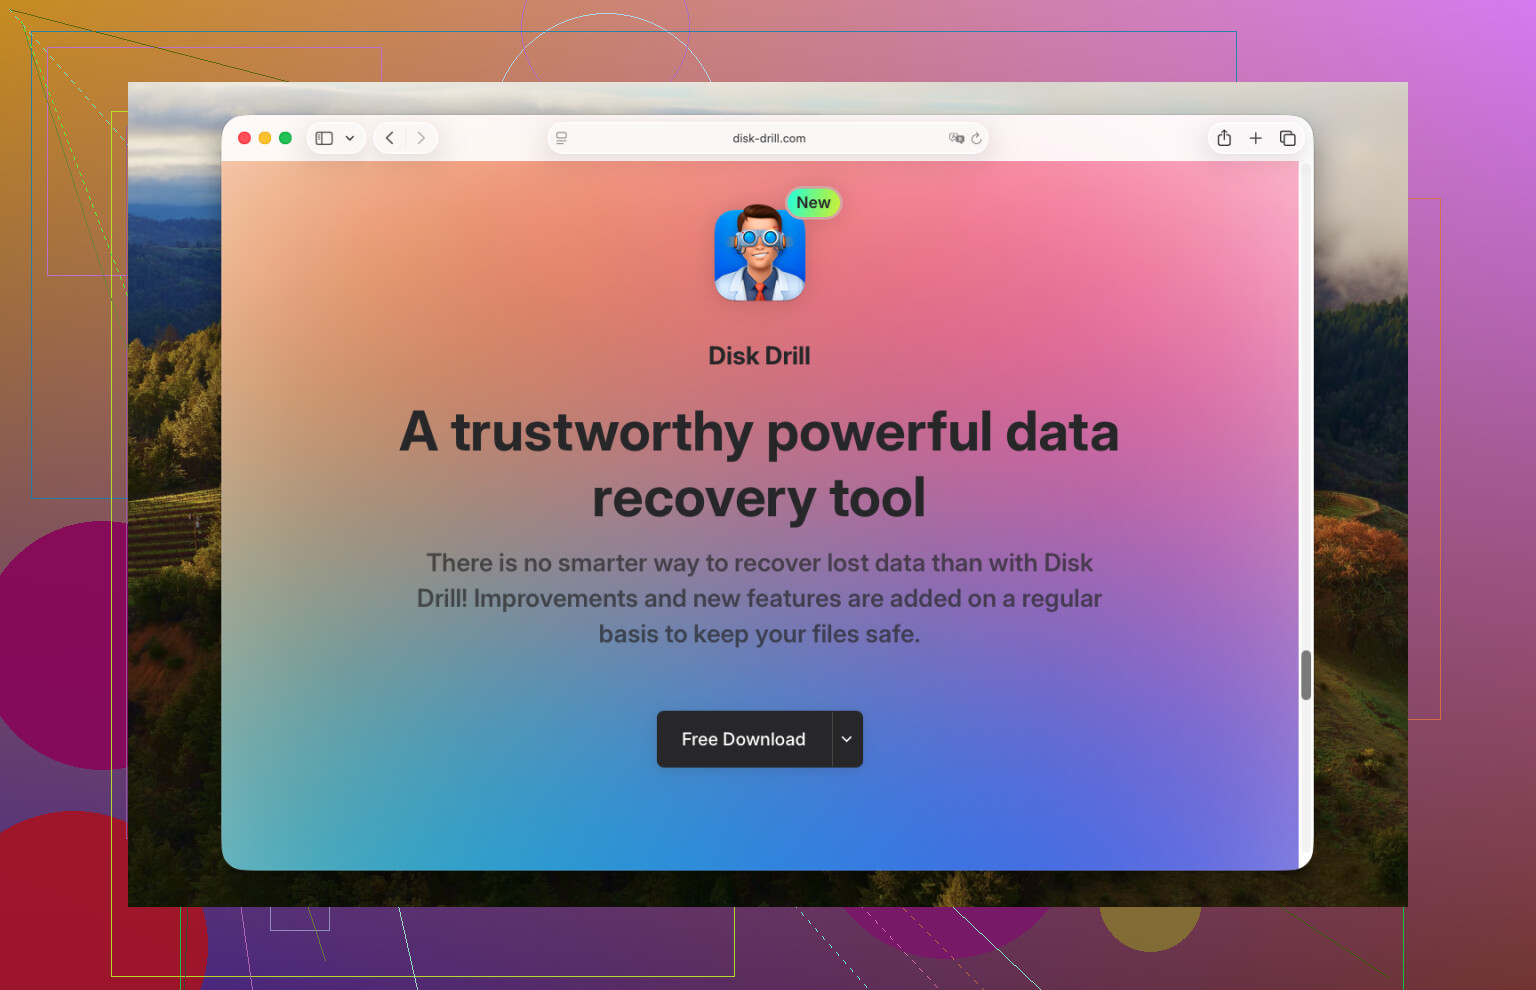
Disk Drill is usually the first one I point people to on macOS. It’s easier to work through than some of the heavier tools, and the preview feature matters more than people think. If you preview a file and it opens, you know you’re not paying for garbage results.
What I’d do with it:
Install Disk Drill on an external drive if you’ve got one. Don’t put it on the same Mac drive if you can avoid it.
Launch it, pick the drive where the file was deleted, then start the lost data scan.
If it asks for a recovery method, follow the prompt and pick the one closest to your situation. Then wait. Some scans take a while.
Use filters or search by filename, file type, or old folder path.
Preview the file before recovering it.
Select what you want back.
Save recovered files to another drive. Don’t write them back to the same internal drive.
Other tools people use are R-Studio and Data Rescue. I’ve found them less friendly, more fiddly, but still worth a shot. Same rule either way, scan the problem drive, restore somewhere else.
5. Know when to stop and send it out
I’d quit the DIY route and call a recovery lab if the drive has hardware issues, the Mac took liquid damage, the SSD is missing or shows up wrong, or recovery apps freeze during scans. Same goes if the files matter enough where you don’t want to learn by failing once.
Labs cost more. Still, if the storage itself is unstable, poking it more on your own is how people make a bad situation worse.
The biggest factor is time. There isn’t some clean recovery deadline. On SSD Macs, TRIM plus normal background activity cuts your chances fast. I’d check backups first, then snapshots, then start a scan right away if nothing turns up.
1 Like
If the delete happened on an internal SSD Mac, I’m gonna disagree a bit with @mikeappsreviewer on one point. APFS snapshot hunting is hit or miss for regular users, and on newer Macs TRIM often kills old blocks fast. If the file matters, spend your time on higher-yield checks first.
What has worked for me:
-
Check app-level recovery.
Pages, Word, Photoshop, Preview, Notes, and some DAWs keep temp or autosave copies.
Look inside:
~/Library/Containers/
~/Library/Autosave Information/
~/Library/Application Support/ -
Check cloud app trash.
Dropbox, OneDrive, Google Drive, Adobe Cloud, Notion, even some email apps keep deleted files on their own servers for 15 to 30 days. -
Look for duplicate exports.
Photos, Messages, Mail attachments, AirDrop downloads, Slack caches. People forget files got copied before deletion. -
If it was a photo or doc, search Spotlight by content, not filename.
A renamed file won’t show up the way you expect. -
For raw recovery, Disk Drill is the easy one to start with on Mac. R-Studio pulls more from damaged volumes in my experiance, but it’s slower to learn. Preview first. Recover to an external drive only.
Also, this helped a friend sort the steps fast:
Mac file recovery tips for deleted files
If FileVault was on and the SSD already trimmed the blocks, no app is doing miracles. At tht point, your best shot is old app caches, cloud history, or a pro lab.

One thing I’d add to what @mikeappsreviewer and @techchizkid said: check local document version history before you go full recovery mode. A lot of Mac apps support “Browse All Versions” even when the actual file seems gone or got replaced. In Finder, open the app that created it, then look under the app’s File menu for version history. I’ve seen people recover the content that way even when the original file entry was toast.
Also, if the deleted file lived on an external drive, SD card, or USB stick, your odds are way better than on the internal SSD. Internal Mac SSD recovery is honestly kinda brutal now. TRIM + APFS + background writes = not fun. So I slightly disagree with the “just scan everything” instinct. If it was internal storage and the Mac stayed on for hours after deletion, temper expectations a bit.
Another angle people skip: check email history and collaboration tools. If you ever sent the file through Mail, Slack, Discord, Teams, or attached it in a form upload, there may be a copy sitting there. Same for printers/scanners with their own save folders. Sounds dumb, but it works more often than ppl admit.
If you do try software, Disk Drill for Mac deleted file recovery is still the easiest starting point because you can scan and preview fast. But if the file is truly critical, make a sector-by-sector image first, then scan the image, not the original drive. That reduces the chance of making things worse. Bit nerdy, but safer.
For extra reading, this is a decent roundup of real-world Mac deleted file recovery options and what actually helps: best ways to recover permanently deleted files on Mac
Short version:
- external drive deleted file: decent chance
- internal SSD on modern Mac: maybe, but act fast
- app versions / sent copies / exported duplicates: weirdly high success rate
- Disk Drill: practical first tool
- irreplaceable files: stop DIYing before you bork it worse
That’s the annoyng truth of it.
One angle I do not see stressed enough by @techchizkid, @sterrenkijker, and @mikeappsreviewer is where the file was stored logically, not just physically.
If it was inside a package library, recovery can look like failure when the file is actually embedded somewhere else:
- Photos Library
- Final Cut Libraries
- Logic projects
- iMovie libraries
- Mail database stores
Right click those bundles and inspect contents, or open the app and look for relink/import history. I have seen “deleted” media still referenced there.
I also slightly disagree with the idea that APFS snapshot checking is worth much effort for average users unless they already know Terminal or snapshot tooling. Good theory, uneven payoff.
For tools, Disk Drill is fine as a first pass.
Pros
- easy preview
- good file type filtering
- friendly for non-technical Mac users
Cons
- lots of found junk on deep scans
- internal SSD results can be disappointing
- paid recovery if you actually want to save results
If Disk Drill shows nothing useful, that itself is valuable information. At that point, stop hammering the drive and decide whether the file is worth pro recovery. On modern internal SSD Macs, sometimes the honest answer is: the recoverable copy is more likely hiding in an app library, bundle, or export cache than in raw deleted blocks.